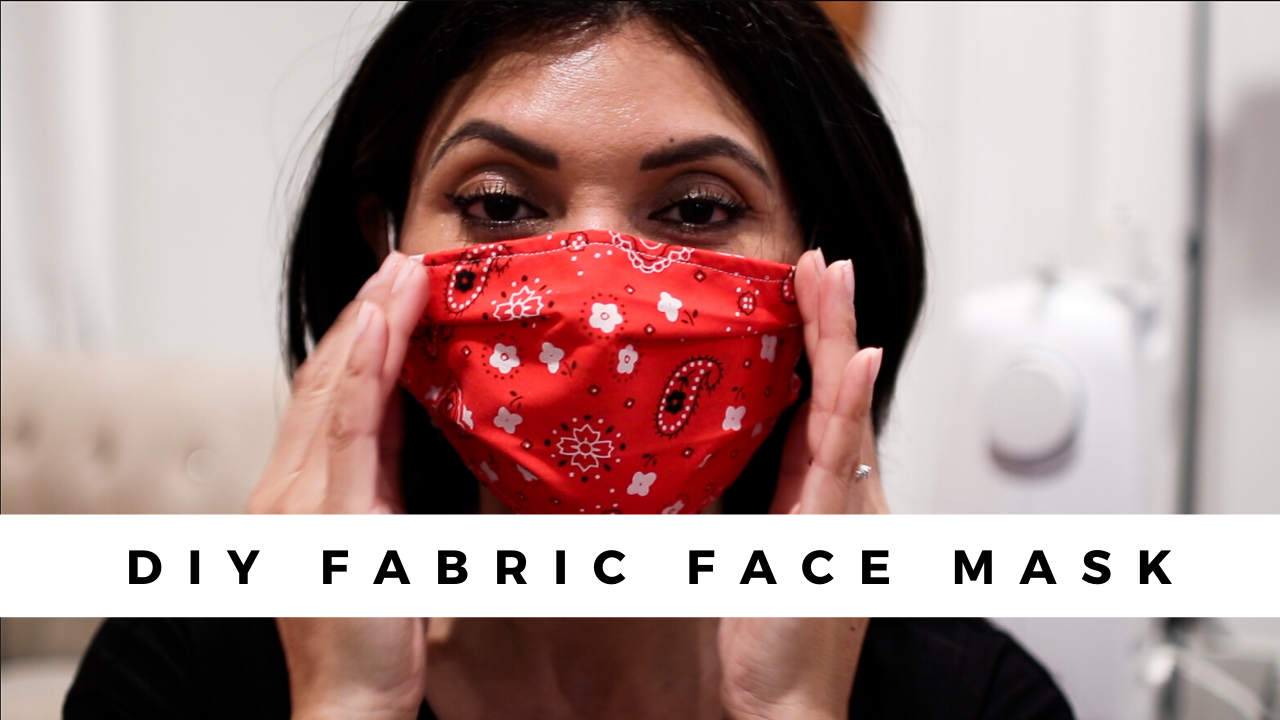
You too can sew a fabric face mask at home. I am not an expert sewer, but I made one myself, and I can’t wait to share it with you.
Please visit CDC here to learn about the proper use of homemade masks.

We all know that there is a shortage of face masks. While homemade face masks aren’t as effective as surgical mask or N95 mask, they are still helpful in protecting you and others from viruses. I will show you step by step on how to make a simple pleated mask. And let me remind you, my sewing skills are basic. But again, I felt the urgency to make these masks last night, and I hope you find this tutorial helpful. Now let’s get started.
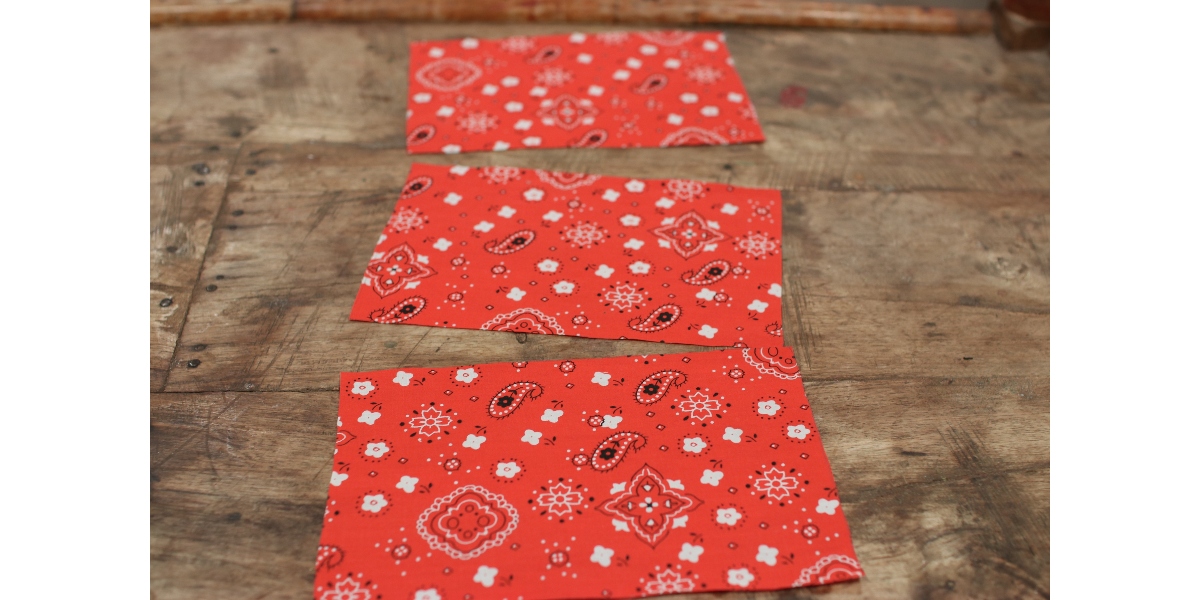
Here’s what you need to get started. You need three pieces of rectangular fabric in the size of 6″ x 9″ inches.
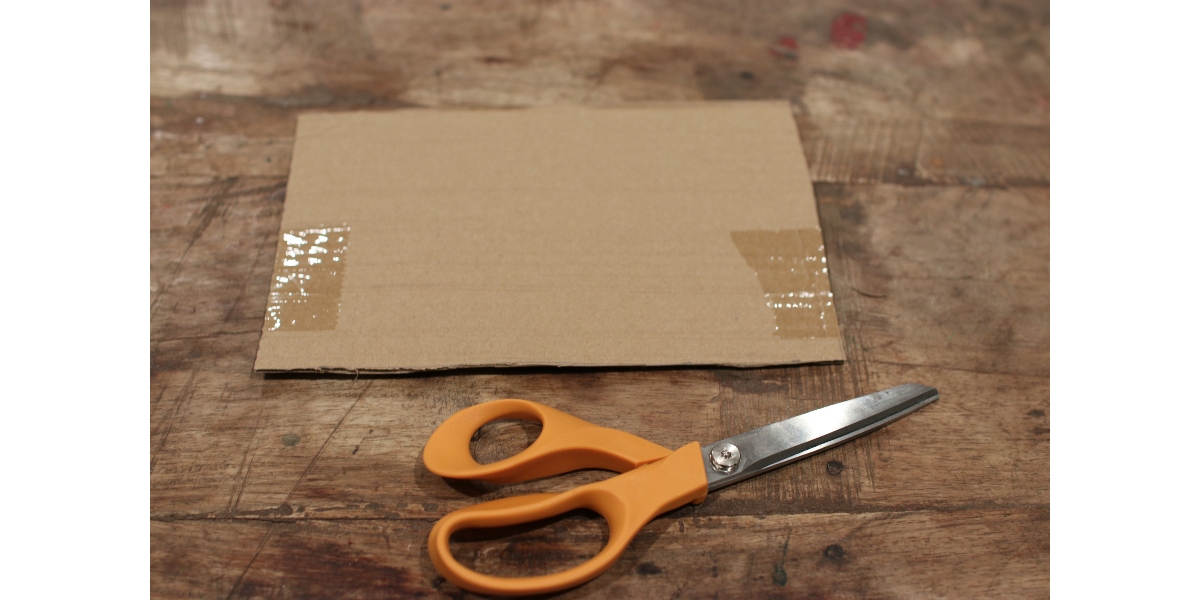
You can use a cardboard cutout as a template.
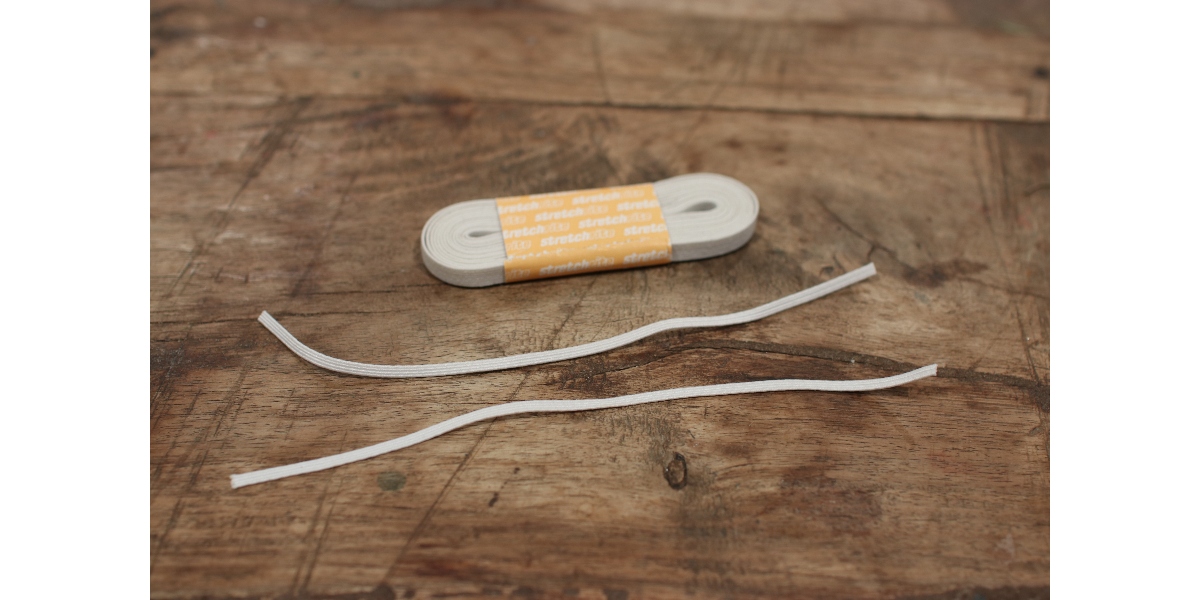
You can use elastic ties. I have this in my sewing box that I decided to use. The two elastics should be seven inches long.
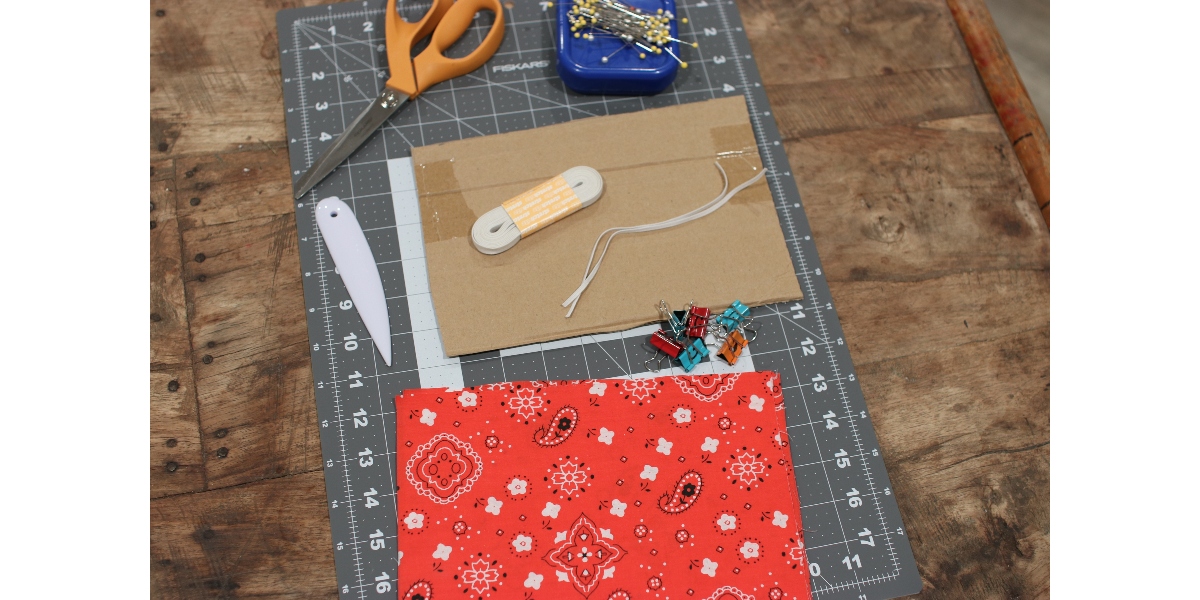
Scissors, pins, little clippies, and a ruler, and you are good to go.
[show_shopthepost_widget id=”3970907″]
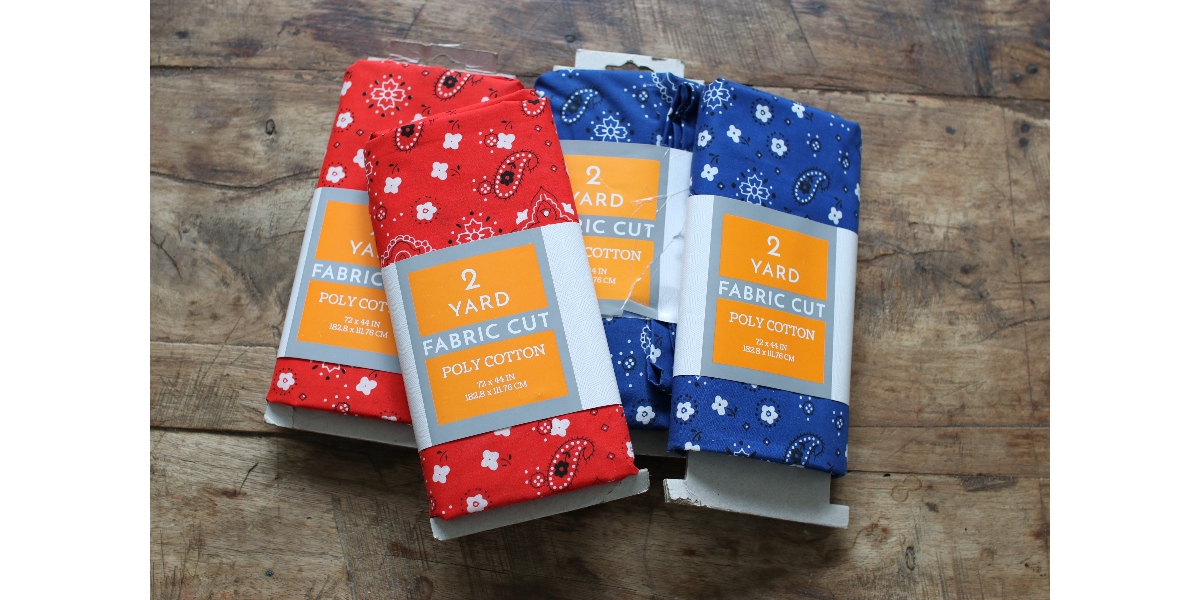
Layers are the key to an effective mask. Layer one is the outer layer, layer two is the mid layer, and the layer three is the inside layer. You can use many items at home, like I did. I had this cotton-poly fabric at home that I chose to use. Skip wool fabric or any fabric that can irritate your skin.
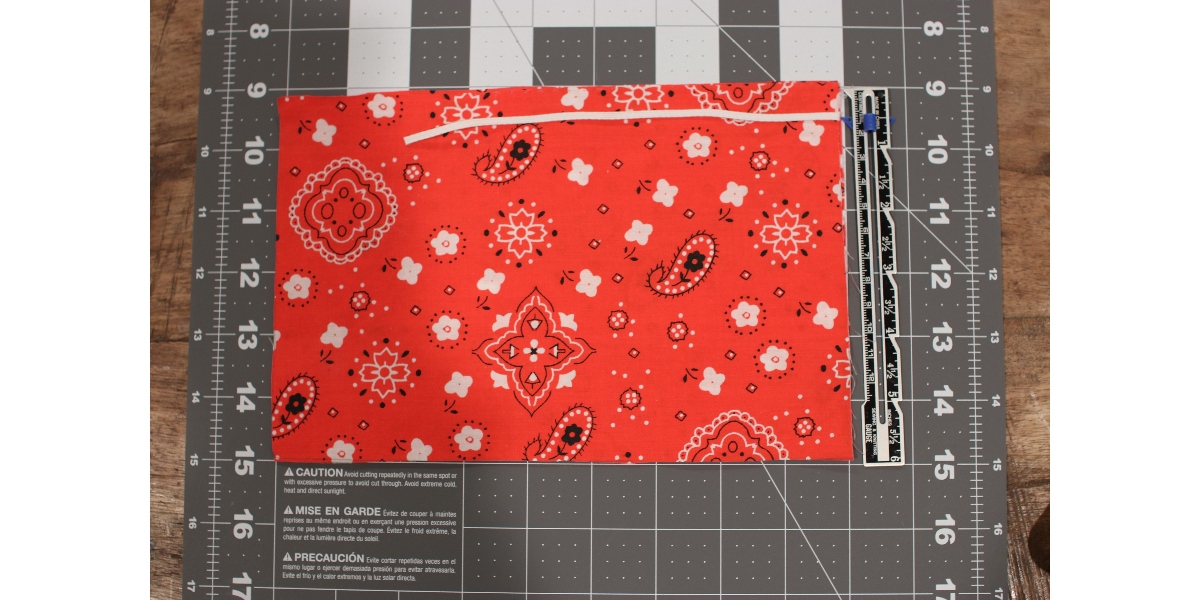
Place the first fabric down, which is actually the middle layer. Next, place the other fabric down, which is going to be the outer layer. And then you’re gonna grab one of the elastics, and you can measure it from the top down about a half inch. Again, you can measure it if you want, or you can eyeball it, and place it right there. And you can grab a pin or a clip, and you want to attach the elastic to the edge of the fabric.
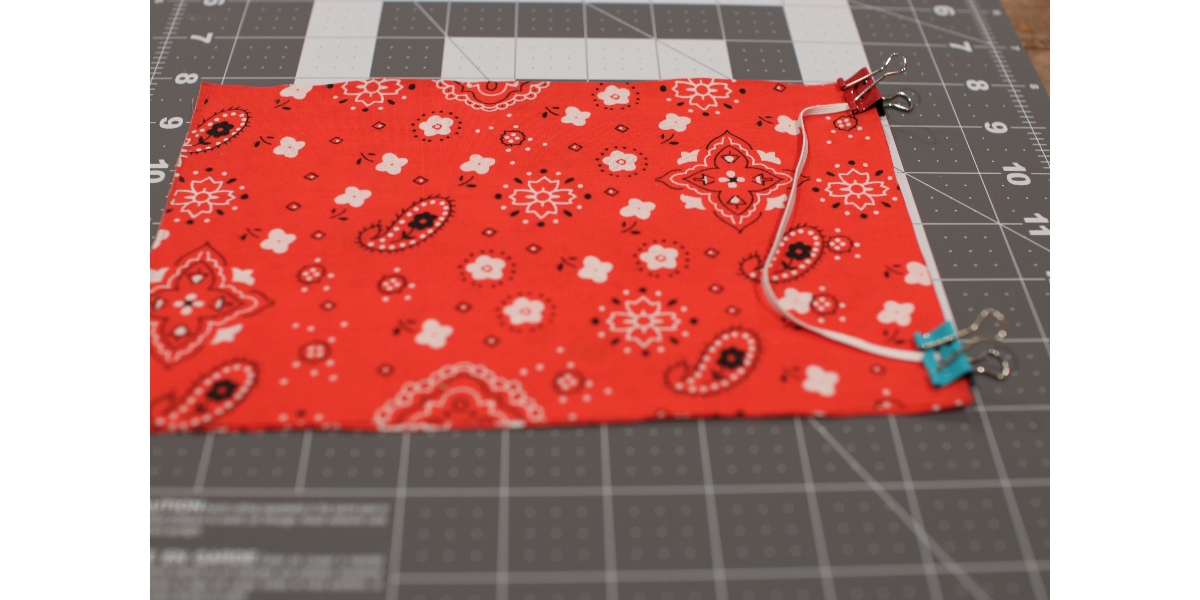
Now, let’s make the ear loop. I’m going measure from the bottom up about a half inch, make a little dot, grab the elastic, making sure that it’s not twisted. Put it right at the marker, grab a pin or a clippie to keep the elastic in place. And we will repeat the same process on the other side.
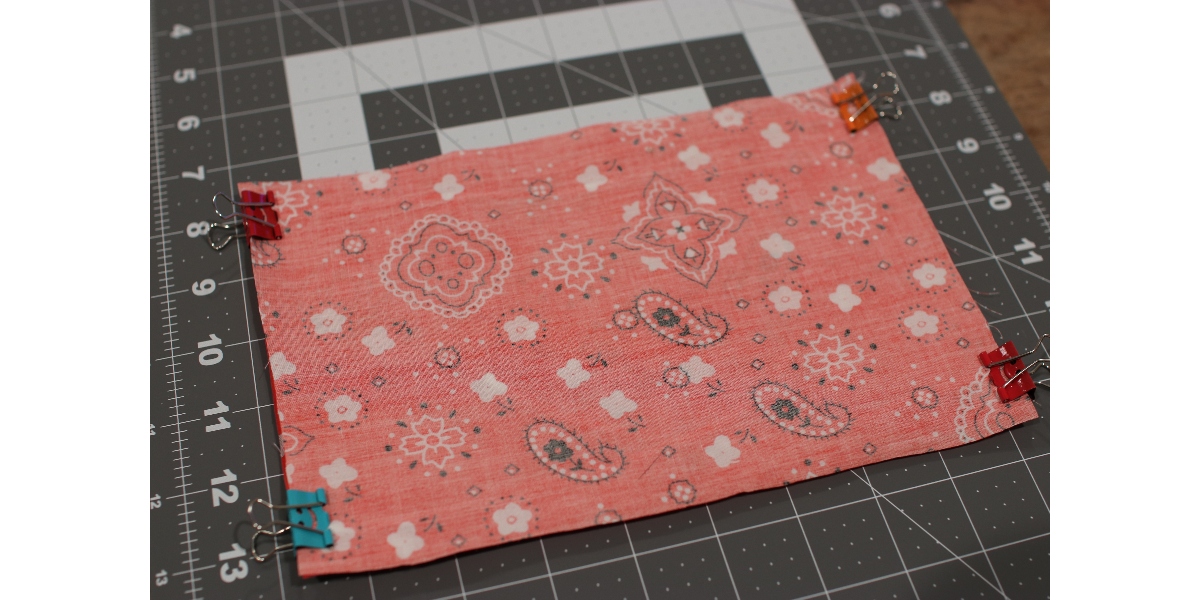
Place a third layer, print side down this final layer makes the inside layer of your face mask. We need to prepare this piece for sewing, so re-attach the clips to include this outer layer.
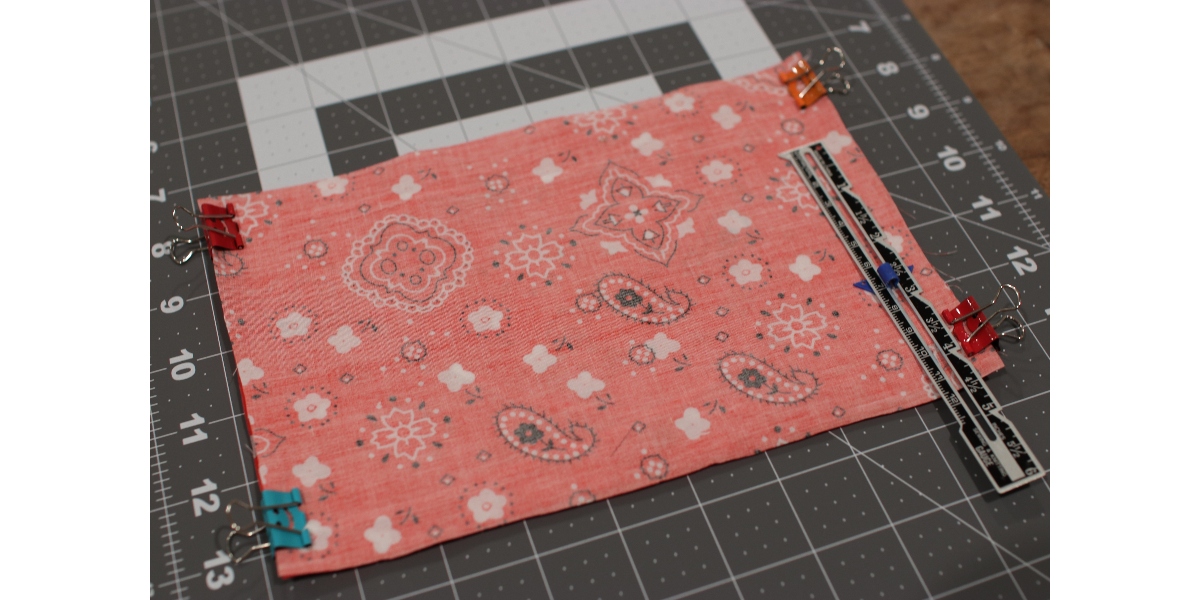
Next, we wan to create an opening where we can turn the face mask inside out so the opening will be about two and a half inches make the marks there and when you have sewn around the edges about a half inch in, you’re able to pull it inside out. And now for the fun part, go ahead and sew the edges together, making sure to leave that two and a half inch gap open so we can turn it inside out and go over the corners of the mask to reinforce the elastic loop.
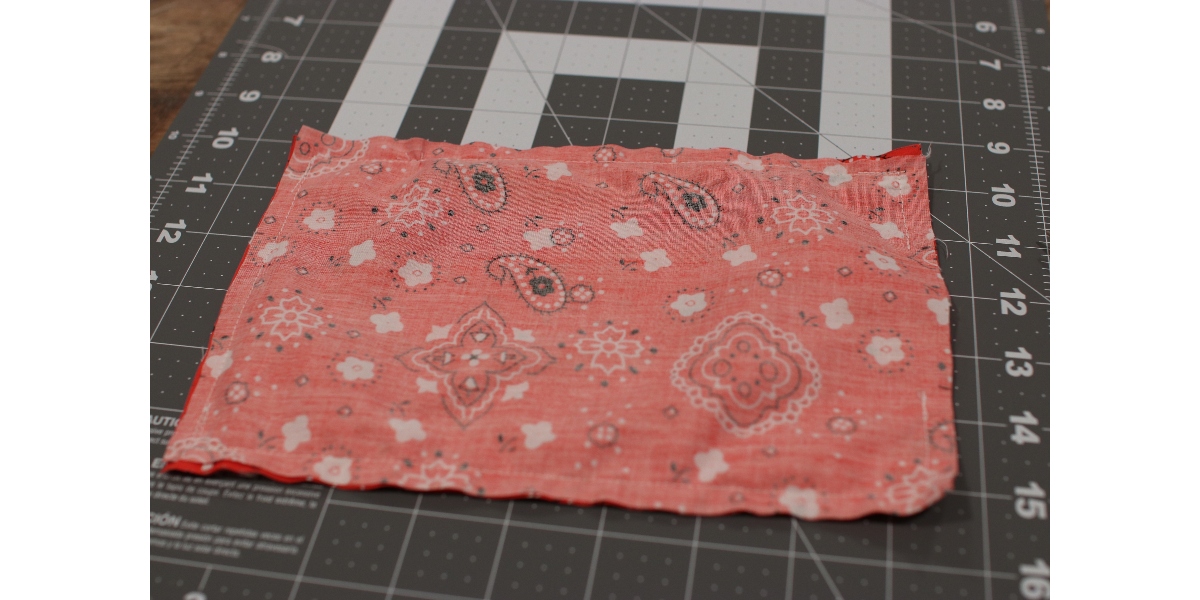
What do you think, not too shabby, right?
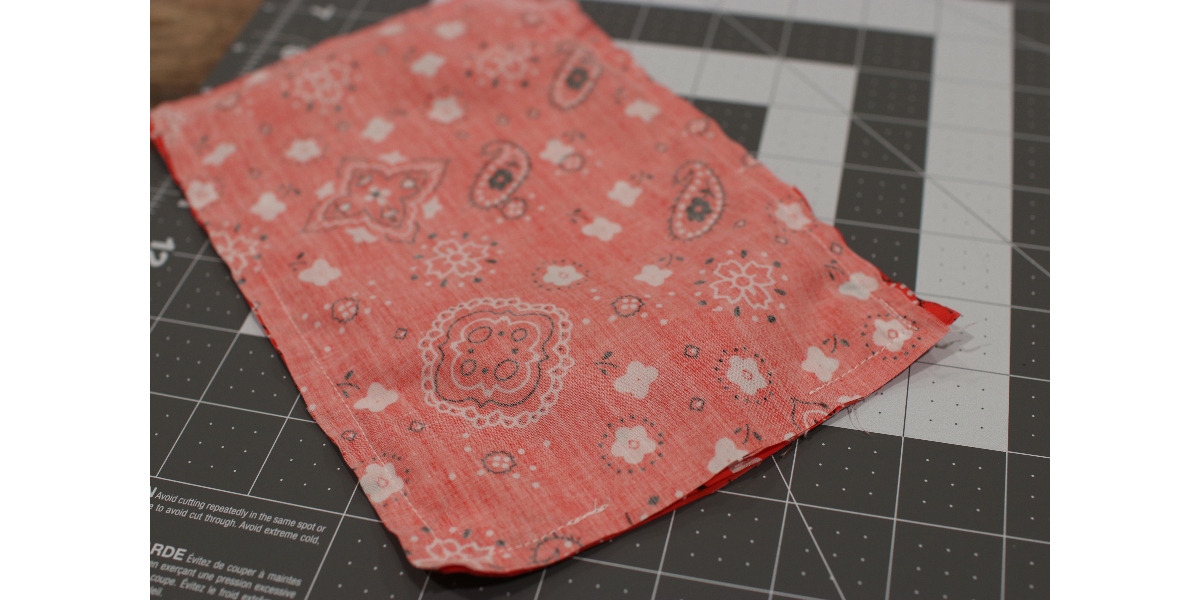
Just don’t look at it close, but I sewed it all around the edges and left the two and a half inch gap open.
[show_lookbook_widget id=”448855″]
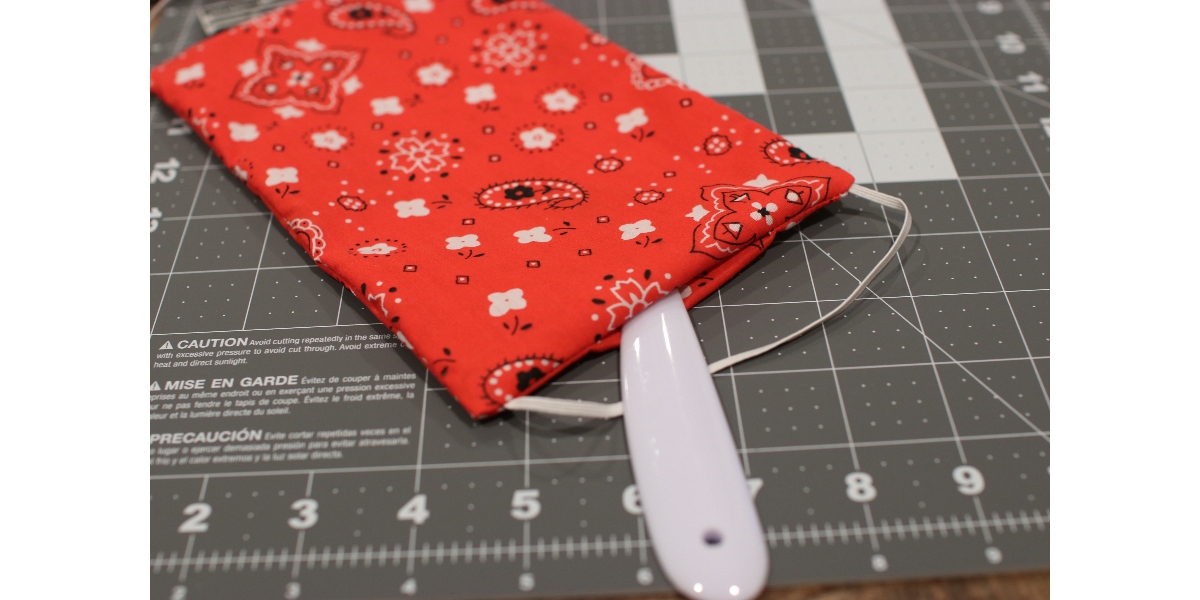
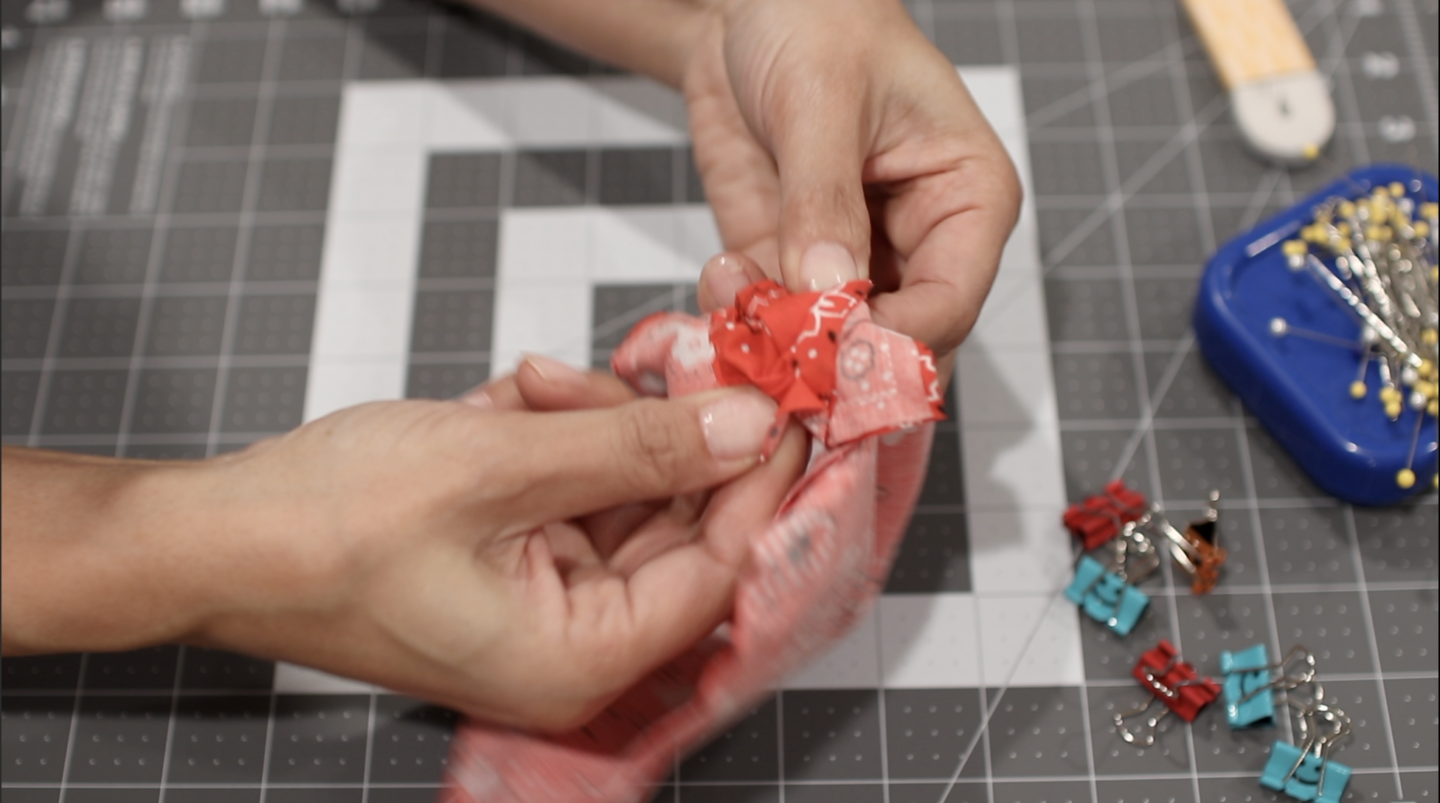
Let’s turn this baby inside out, you are going to gently use your fingers to push the fabric out from the inside. And it’s so fun to see this come together. Be careful while you’re pulling ’cause you don’t want to rip the seams and you can go ahead and use a tool if you’d like to get into the corners so they’re not stuck in there.
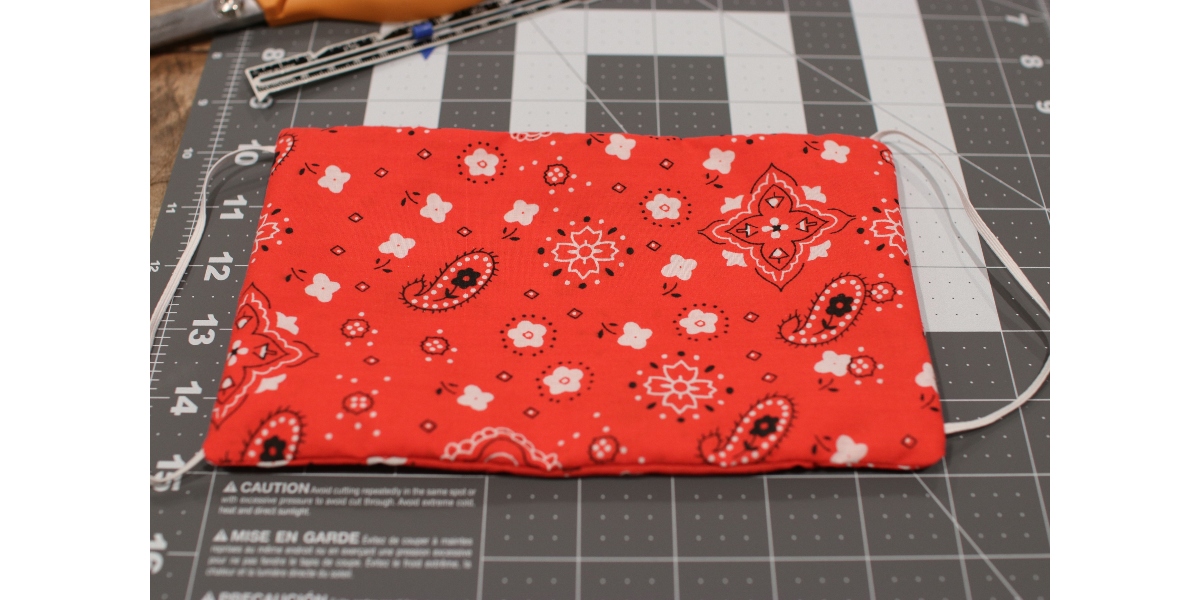
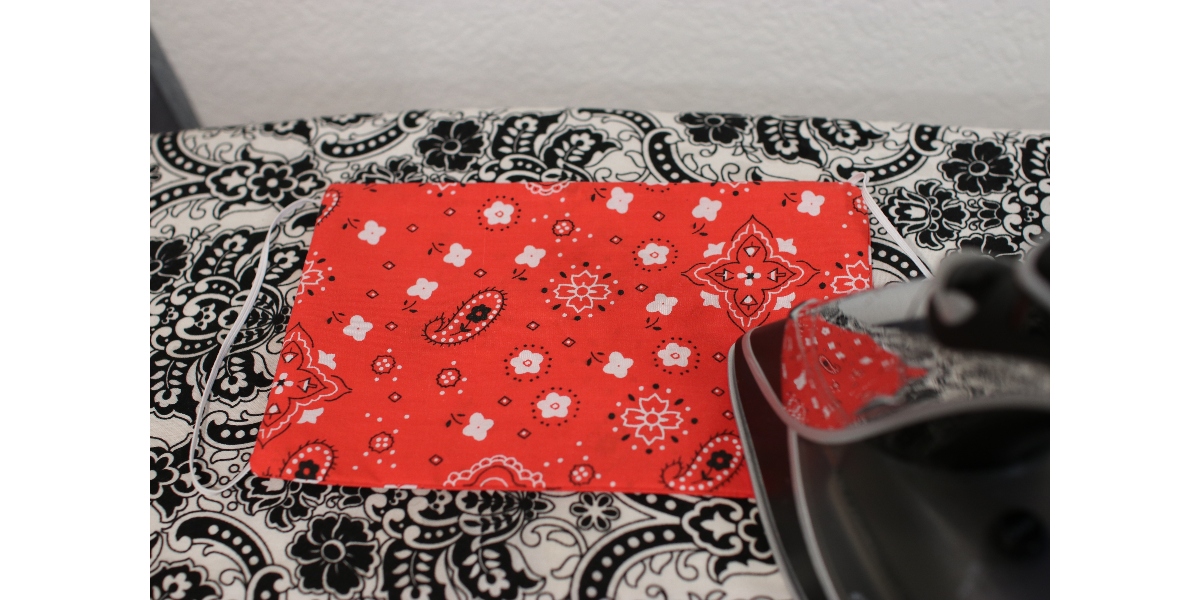
It is now time to add some heat. Finger press the gap to keep it firm. And quickly press the fabric with your iron to get it nice and straight. We’re gonna get it ready for the next step, which includes folding. Create the pleat by folding the top down creating a 1/4 inch overlap between the top and bottom fabric. Make sure to pin it in place.
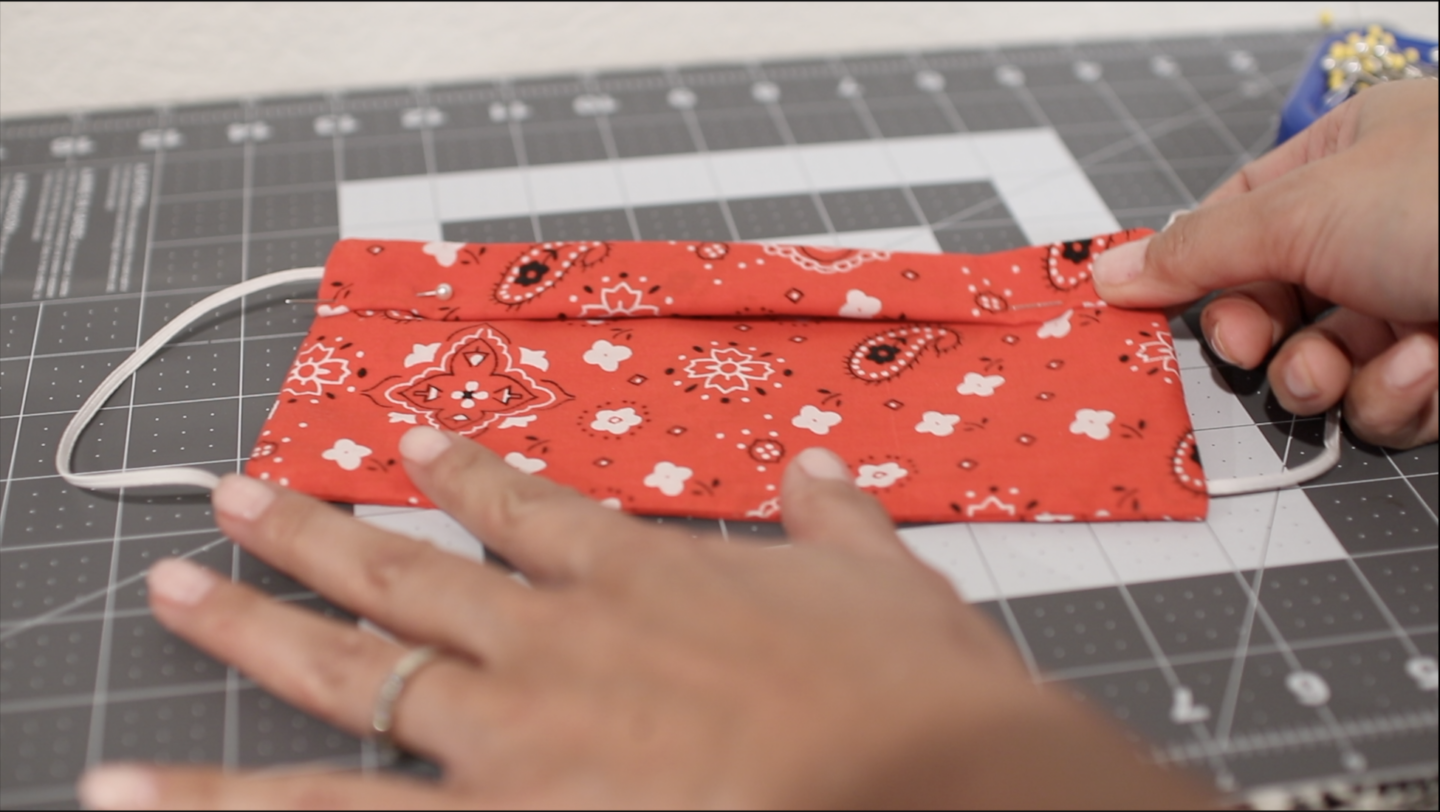
You’re gonna repeat the same process to create a second pleat by folding it, create a 1/4 inch overlap.
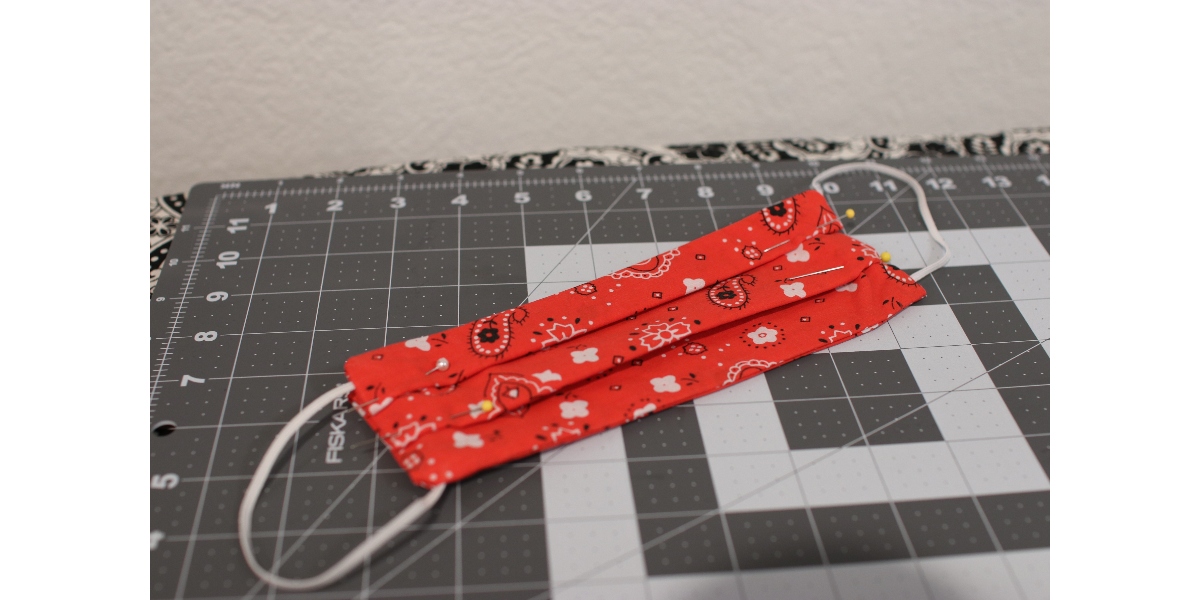
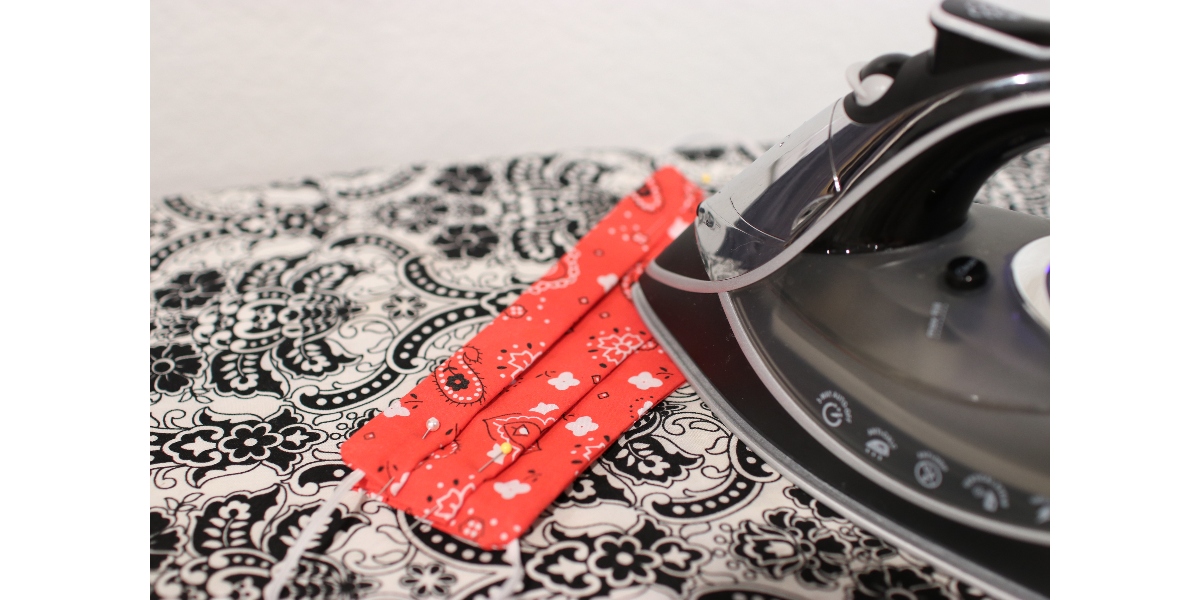
Let’s get those pleats nice and crisp. Go over it with your iron and gently press. We are now ready to complete the face mask.
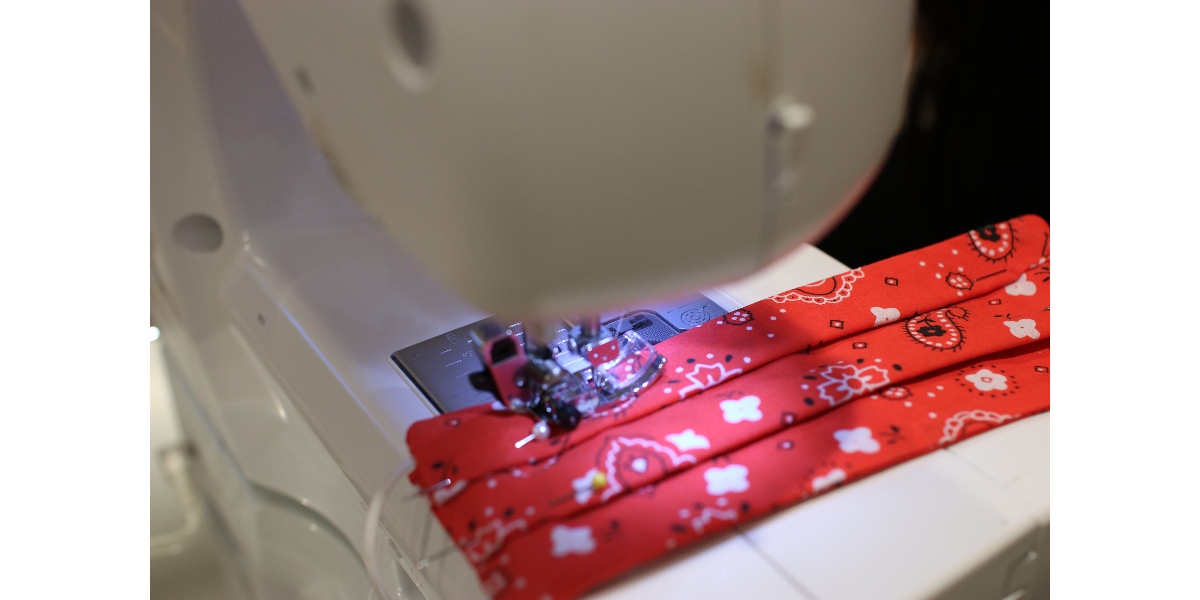
Go ahead and sew it all the way around the edges, going carefully over where the elastic part is and over the pleats, take your time. I admit, I did struggle with this aspect a little bit and I had to remove the face mask and put it back under the needle to get it positioned right, but take your time.
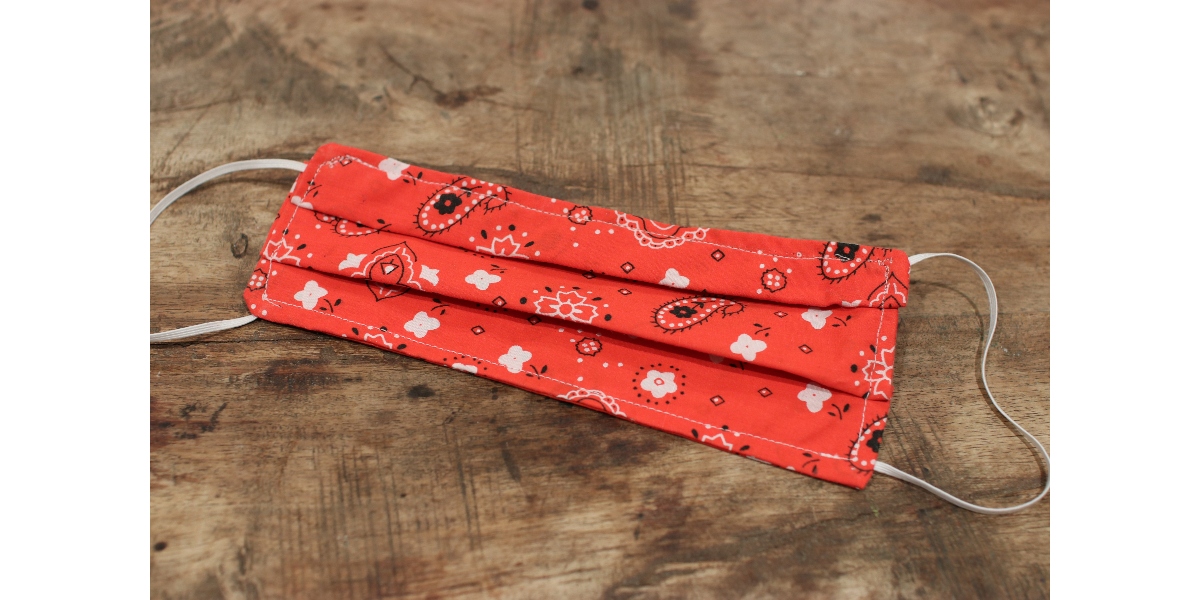
Here’s the finished product, what do you think? I know it’s not perfect, but I’m really proud of it. And it will give me the peace of mind that I need. Remember with the use of a face mask, it is still very important to use appropriate social distancing, and thorough hand washing. These best practices are a must.
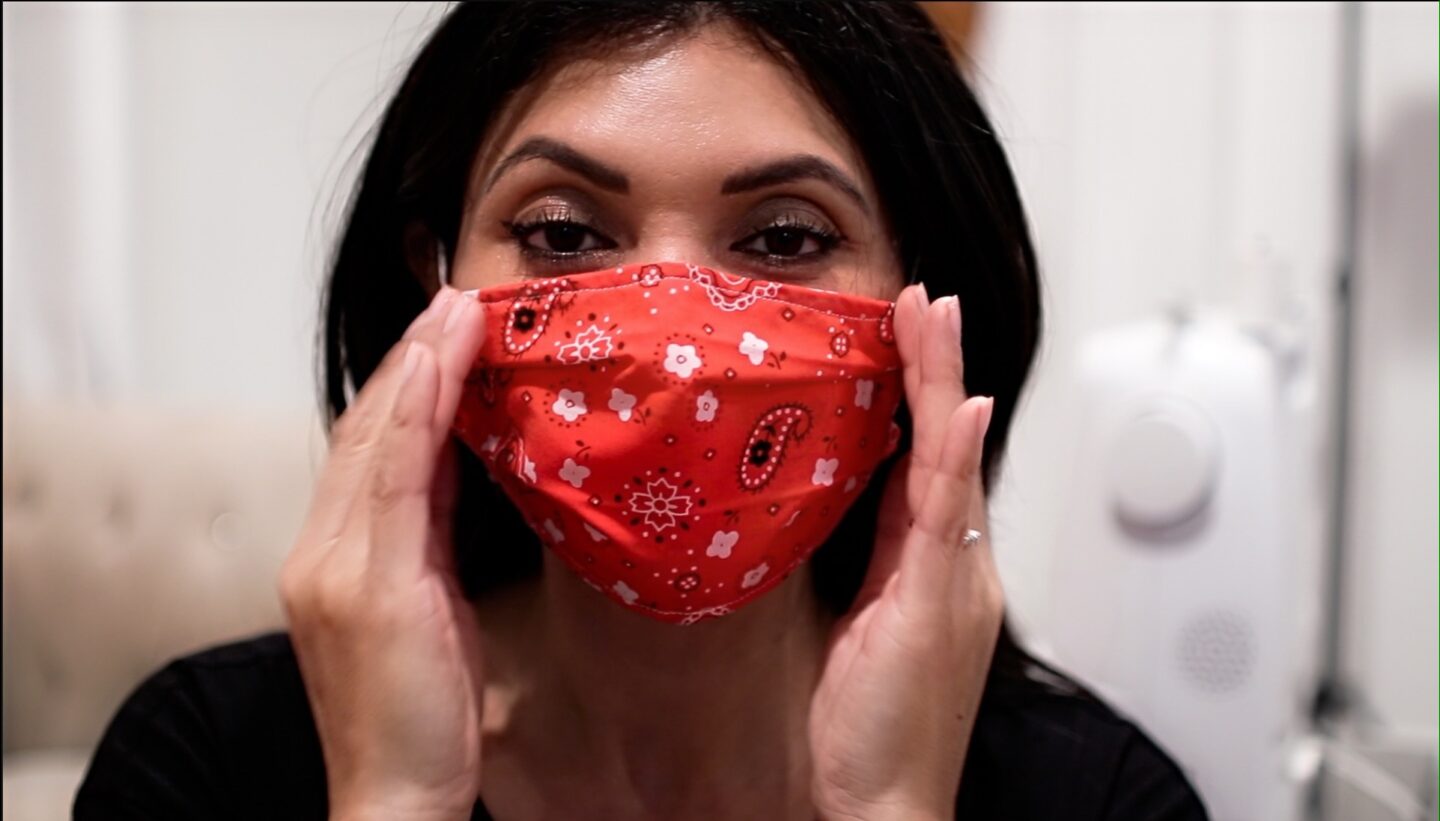
Make sure to check my links below to donate and stay well my friends.
Please visit CDC here to learn about the proper use of homemade masks.
Resources for the Corona Virus: A comprehensive online resource directory for the COVID-19 outbreak. Reliable, factual information from trustworthy sources that also contains many links to keep the public informed, educated, entertained, and engaged during these turbulent times. The site includes several sections: Covid-19 Facts, Food and Delivery Services, Government Resources, Education and Learning, Lectures, Children/ Teen Education, Gardens, Libraries, Museums, Health and Fitness, Entertainment (Movies, Music, Performing Arts), and a site called Exploring the world with Several Virtual Experiences.
Students from the UC Berkeley School of Public Health published an online list of 141 U.S. hospitals accepting donated homemade masks, including 40 in California.
Organizations Needing Mask Donations
Face masks should be incorporated with other great habits, such as appropriate social distancing and thorough hand-washing, to prevent viruses from spreading. However, please note this mask will not prevent you from contracting a respiratory illness. The Centers for Disease Control and Prevention recently announced new recommendations for individuals to voluntarily wear cloth face coverings in public, especially in crowded places where the risk of person-to-person transmission is high.
[show_lookbook_widget id=”448855″]


No Comment! Be the first one.